Thursday, January 10, 2013

Step by step giant robot of doom

Another step by step.

This painting was painted in 5000px by 3011px resolution which allows me to get enough detail in for a scene like this. 


Rough sketch and blockin

Added some photos to get values and a more diverse palette.
Photos were added as "softlight" layers then erased in an out to get the value placements I wanted.

The photos were painted out using the "new" values. This was the step of which I decided to take it further. I usually sit around and paint environments just for fun. 

Tried to get some story going.


Foreground painted in and atmosphere added. I tried to separate things in the background/middleground by using value and temperature. 


Second dude added, tried to create a bit more panic in the image. Also more atmosphere added in the background.


Final! Police/car added and smashed, particles and other things added to create more movement. I also added a softlight layer with a warm color set to 15% to get swift the color palette around slightly towards red.

Step by step flying vehicle

Hi, just thought I'd share some process with you!

This was my first painting for 2013.

The resolution for this painting was 8000px by 6558px (because I had printing in mind) and it was completed in about 4-5 hours.


Thumbnail, this originally started out with me looking and trying to figure out
the suspensions on formula 1 cars.

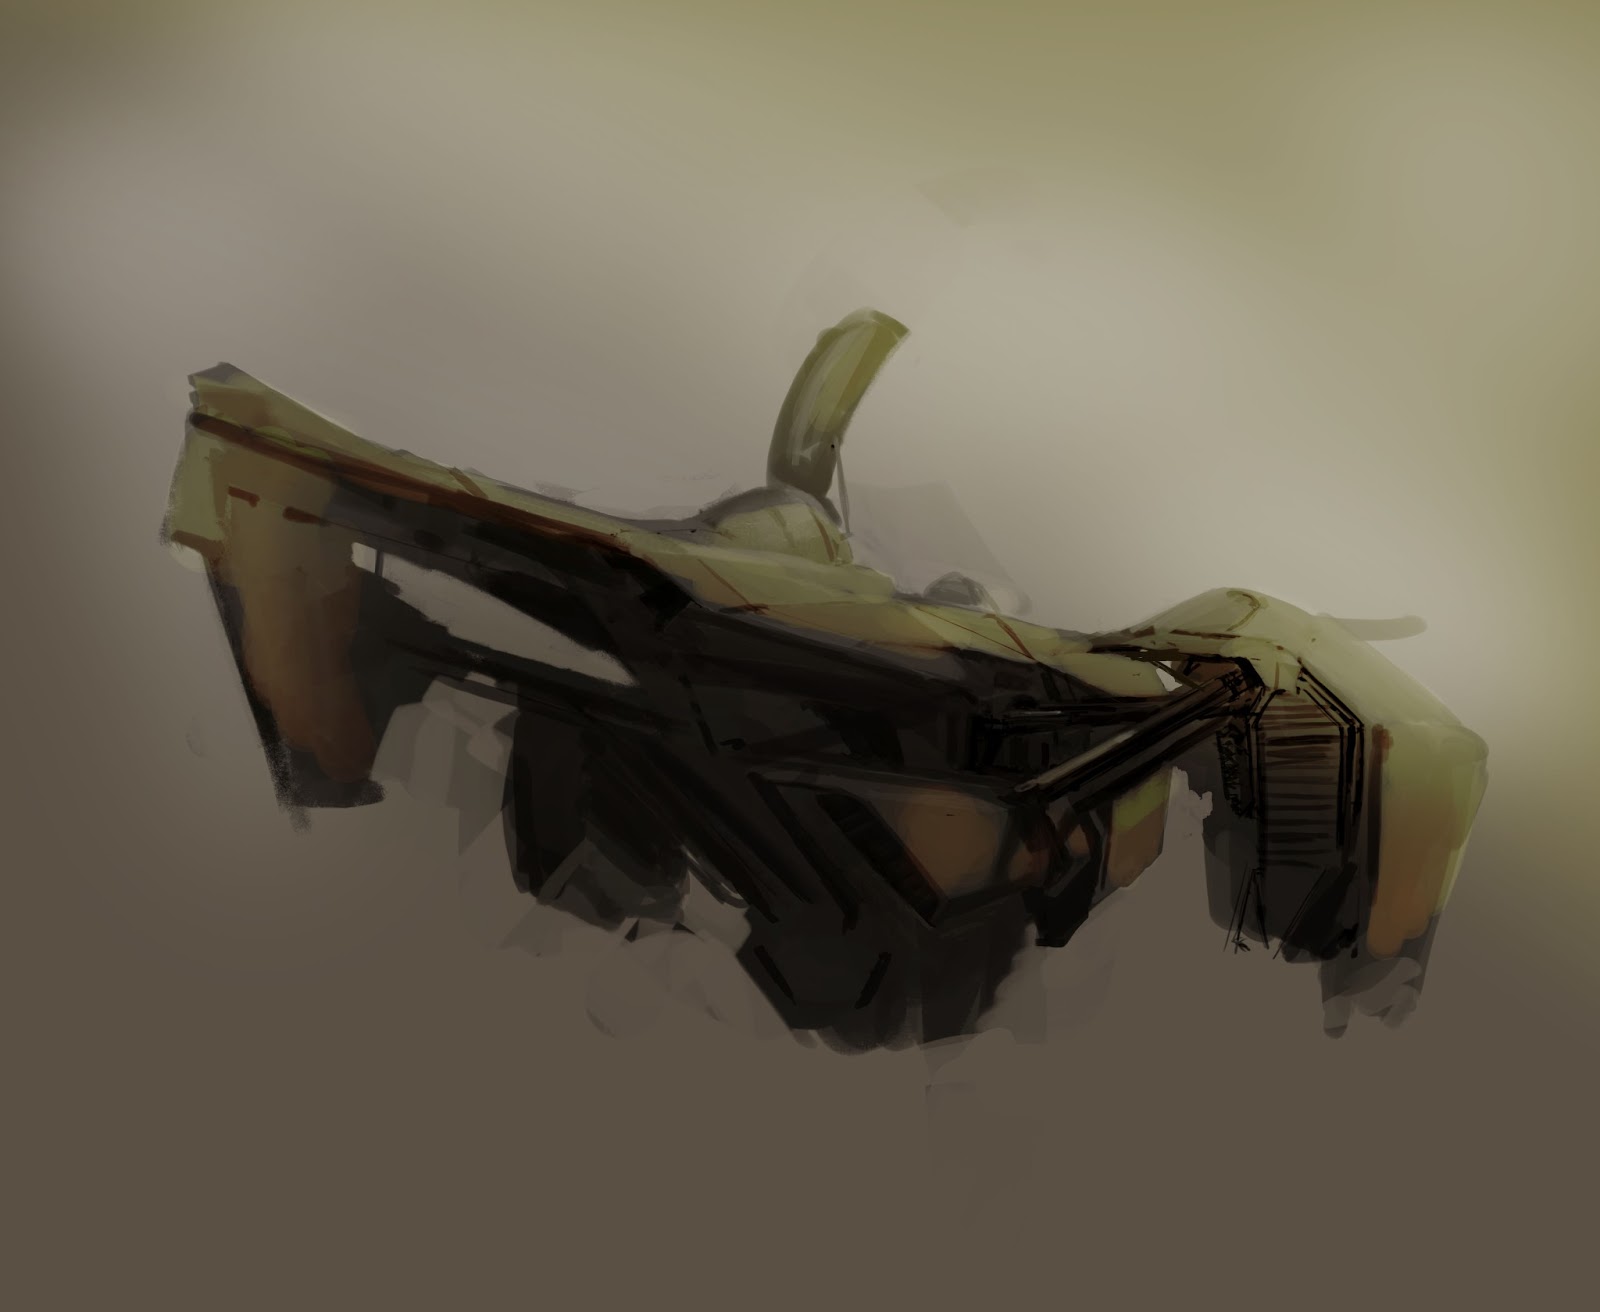
Rough blockin of concept


Added a dark background and blocked in the base values.

Added a gradient and lightsource across the whole image set to linear dodge.


Added a gradient and lightsource across the whole image set to linear dodge.

Secondary light(s), engines and bounce light blocked in.

Painted the engines and added a bit of warm color to the palette.

Decided to change the concept into an illustration of something moving. Was playing with the idea of having it stand still on some sort of platform earlier on.

Paint paint paint.. Used a light gradient from below to take out some of the more harsh darks.

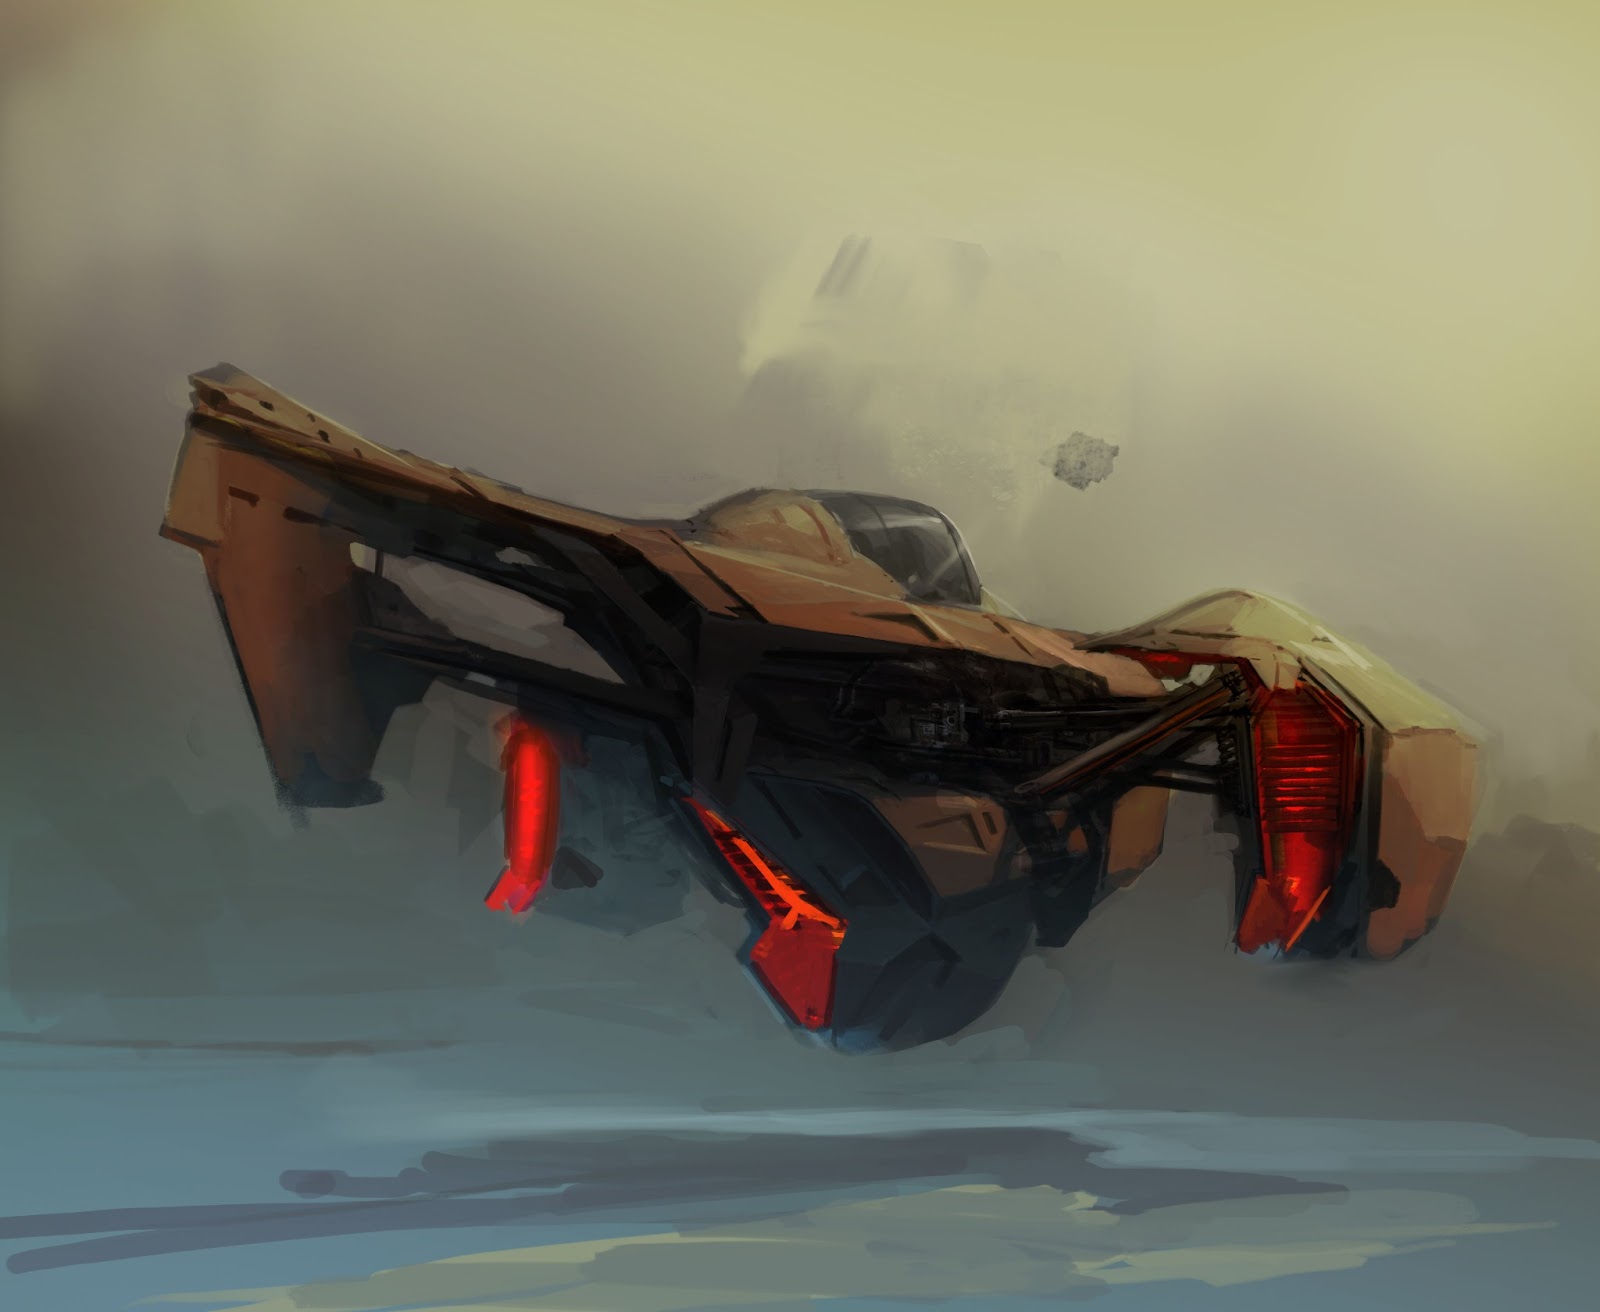
Finish detailing and concept and added a wing on the back to try to balance it up a bit.

Finish! Moving stuff and particles were added to create the feel of speed. I also used the CS6 mixer brush for the looser edges.


Sunday, July 15, 2012

detail shot

here is a part of a recent painting i'm working on... Was talking to Andrew Sonea about temperature in painting and had to do something... I'll try to get it done and up here as soon as possible :) it's been a very fun piece, and I've already learnt and internalized a lot.


update *
 And voila...
 

Thursday, July 12, 2012

sketches

Cool cool, just recently hit 500 unique views! Thanks guys! I haven't really advertised the blog either, so it's very nice to see where the trafic is coming from and that people are interested.

Anyways, the hardest thing about keeping a blog going is the frequent updates. So here is some of the "Opps I really didn't mean to update but I really have to otherwise this will be just another abandoned blog" post.

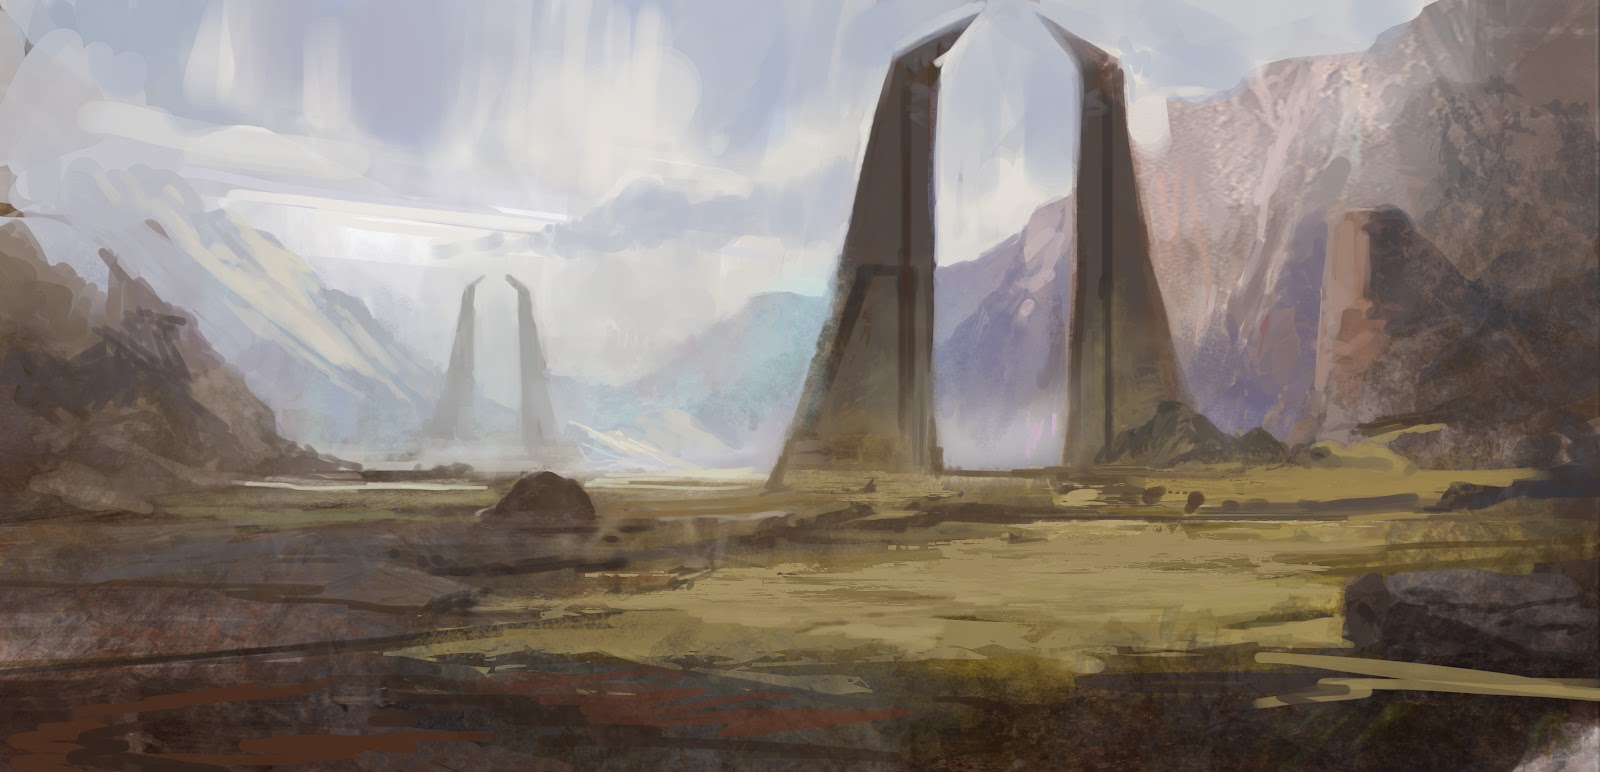
Some super random and totally unrelated and also not very finished pics: