

Sunday, May 26, 2013
Saturday, May 25, 2013
simple bw to color tutorial
Super simple&fast coloring tutorial.

BW SKETCH

Warm red chromatic scheme added

Duplicate character layer and set shadow color. For speed and simplicity sake, I used ctrl+U (Hue & Saturation) and just dragged the hue slider over, as well as lowering the saturation a bit.

Add a mask to the shadow color layer, mask out light areas.

Added a bit of color in the background.

more of the last step, + some detail. Here you can even out chroma if something looks off as well.

Sunday, May 19, 2013


Friday, May 3, 2013

Friday, April 19, 2013
Zbrush #1 NSFW
Hi guys, here is an experiment and first attempt at making something in zbrush! Great fun!
WIP
**Update, learning a lot of things and fixed some anatomy issues as well.
**Update, learning a lot of things and fixed some anatomy issues as well.
Saturday, April 13, 2013


Friday, April 12, 2013

Thursday, April 11, 2013
Sunday, April 7, 2013
wip
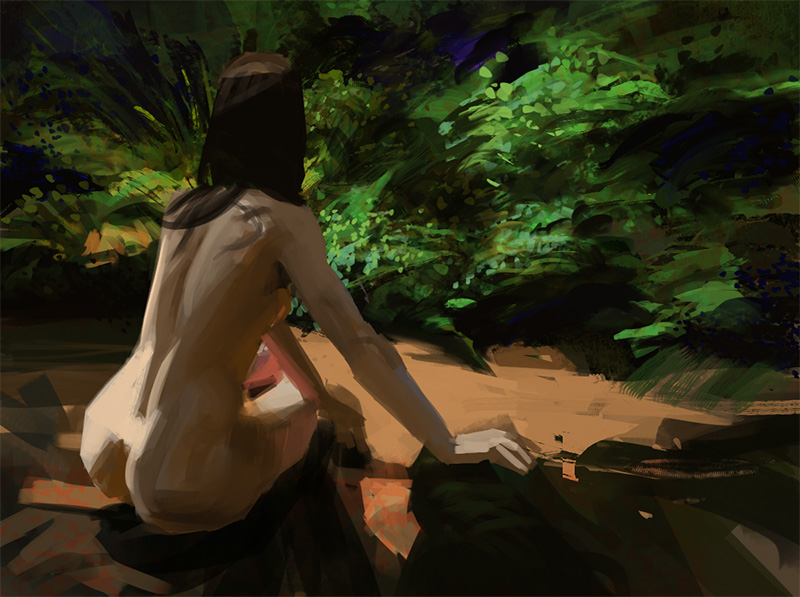
First personal painting I've gotten somewhere with in weeks!!
From ca post:
Work in progress!

From ca post:
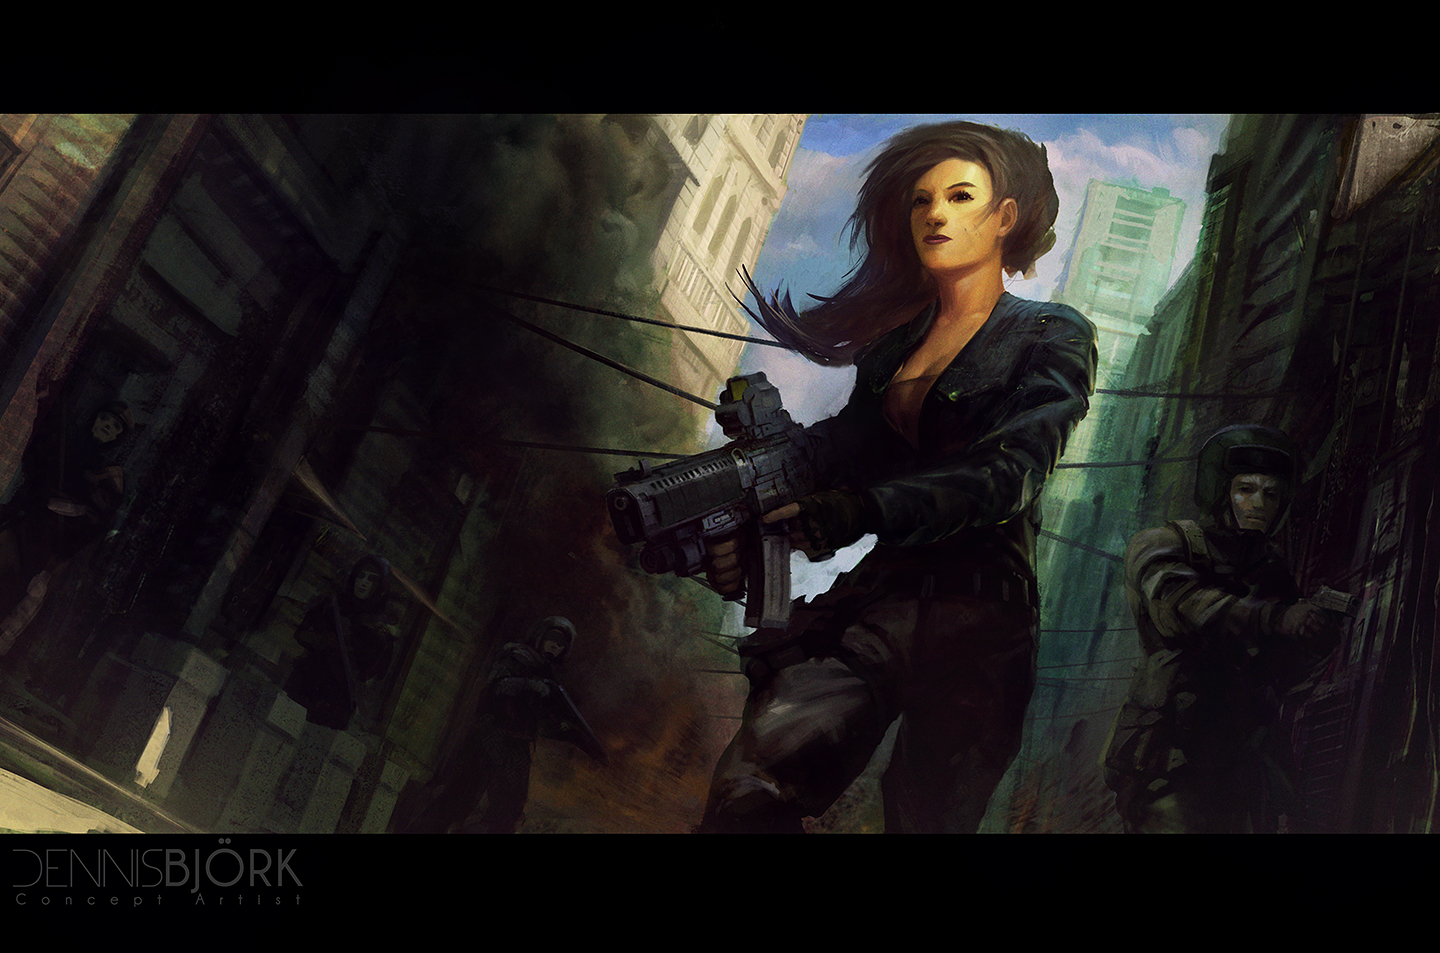
Last few weeks I've been trying to study cinematic shots, weapons, dynamic poses, foreshortening and a bunch of other things, taking in consideration something I read from Greg Manchess about putting more than 1 figure in a painting and pushing depth as well as stealing techniques from the master Macieja Kuciara (From his youtube videos! muhahhaha).
This was my first attempt today at putting allllll this together in one piece. This is still wip (although essentially, everything is in place) - to do list is fixing the hands, her lips, the second guy and tidying up some buildings...
Work in progress!

Tuesday, March 26, 2013
moar
Another selfie..Tried not too look so concentrated/angry this time...

And an update on previous doodle...


And an update on previous doodle...

Friday, March 22, 2013


Wednesday, March 6, 2013


quickies
quick studies not too happy about the first one, but had some experimenting going on so.. :: ]]]

Thursday, January 10, 2013
Step by step: Factory
This is a painting I did on my stream a bit over a month ago.
It was painted in photoshop cs2 on a "standard" resolution of 3200x1966 pixels.
It took around 8-9 hours to finish.

Sketch/Blockin

Added pipes etc to make eyes go to middle for the composition.

Changed the perspective slightly by selecting the whole image and using transform/distort.

Some details added by using a leafbrush.

Some textures thrown in and set to color dodge to create highlights and sharp detail.

Using "new values" to paint in more detail.

Pushing middleground and foreground away from eachother by adding atmosphere and things overlapping.

The woman was painted in early but wasn't something I had decided on keeping. In the last step I put her back in to get some story going on. Without her and the deer, it's pretty much just the environment and not much happening.
Step by step giant robot of doom
Another step by step.
This painting was painted in 5000px by 3011px resolution which allows me to get enough detail in for a scene like this.

Rough sketch and blockin

Added some photos to get values and a more diverse palette.
Photos were added as "softlight" layers then erased in an out to get the value placements I wanted.

The photos were painted out using the "new" values. This was the step of which I decided to take it further. I usually sit around and paint environments just for fun.

Tried to get some story going.


Foreground painted in and atmosphere added. I tried to separate things in the background/middleground by using value and temperature.

Second dude added, tried to create a bit more panic in the image. Also more atmosphere added in the background.

Final! Police/car added and smashed, particles and other things added to create more movement. I also added a softlight layer with a warm color set to 15% to get swift the color palette around slightly towards red.
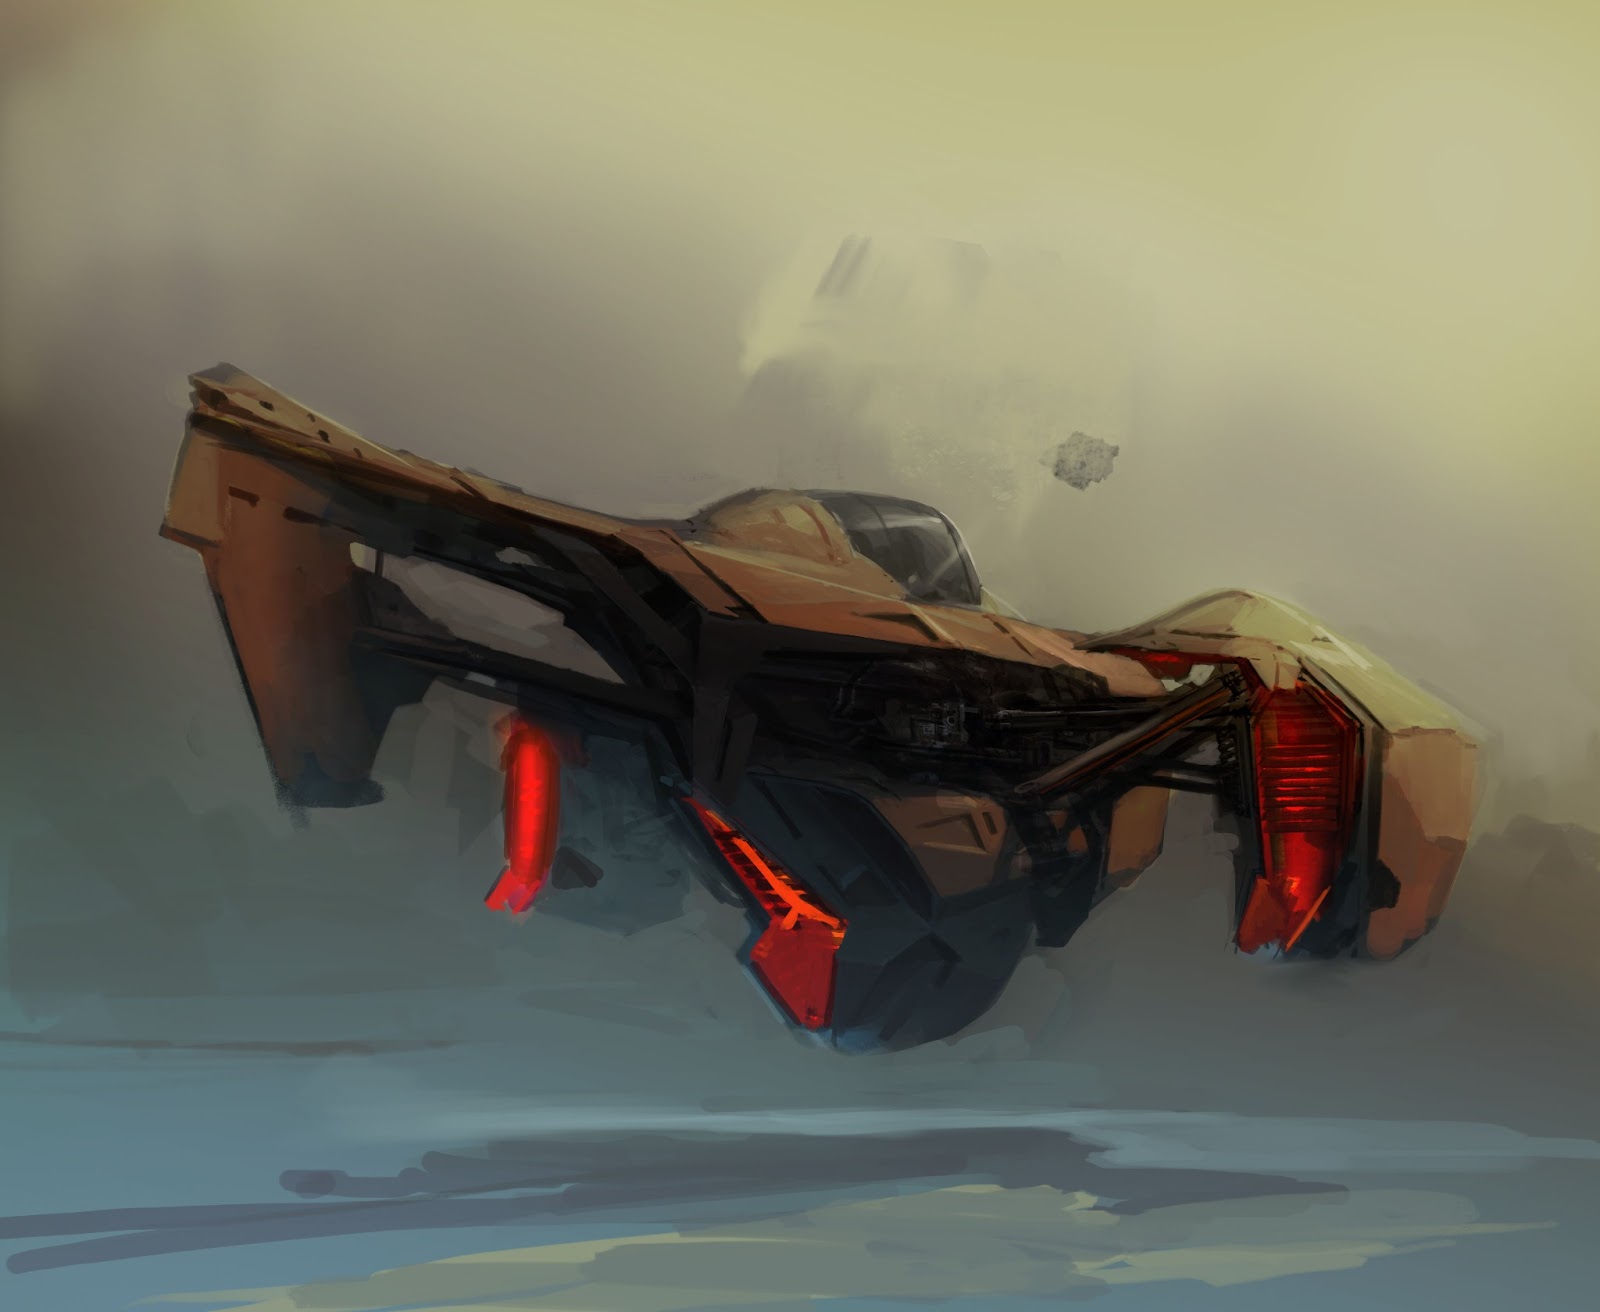
Step by step flying vehicle
Hi, just thought I'd share some process with you!
This was my first painting for 2013.
The resolution for this painting was 8000px by 6558px (because I had printing in mind) and it was completed in about 4-5 hours.


This was my first painting for 2013.
The resolution for this painting was 8000px by 6558px (because I had printing in mind) and it was completed in about 4-5 hours.

Thumbnail, this originally started out with me looking and trying to figure out
the suspensions on formula 1 cars.

Rough blockin of concept

Added a dark background and blocked in the base values.

Added a gradient and lightsource across the whole image set to linear dodge.

Added a gradient and lightsource across the whole image set to linear dodge.

Secondary light(s), engines and bounce light blocked in.

Painted the engines and added a bit of warm color to the palette.

Decided to change the concept into an illustration of something moving. Was playing with the idea of having it stand still on some sort of platform earlier on.
Paint paint paint.. Used a light gradient from below to take out some of the more harsh darks.

Finish detailing and concept and added a wing on the back to try to balance it up a bit.

Finish! Moving stuff and particles were added to create the feel of speed. I also used the CS6 mixer brush for the looser edges.
Subscribe to:
Posts (Atom)